TP-Link Router Setup for Network Speed: A Step-by-Step Guide
In today's digital age, a fast and reliable network is crucial for seamless online experiences. TP-Link routers have long been a popular choice for home and small office networks due to their affordability and decent internet speeds. However, setting up a TP-Link router can be intimidating, especially for those who are not tech-savvy.
Why Choose TP-Link Router?
The TP-Link router is an excellent product that offers fast internet speeds at an affordable price. With the increasing number of devices connected to the internet, a robust network is essential to ensure smooth online experiences. TP-Link routers are designed to meet the demands of modern internet usage, providing a seamless and reliable connection for all your devices.
TP-Link Router Setup: A Step-by-Step Guide
Setting up a TP-Link router is a straightforward process that requires minimal technical expertise. Here's a step-by-step guide to help you get started:
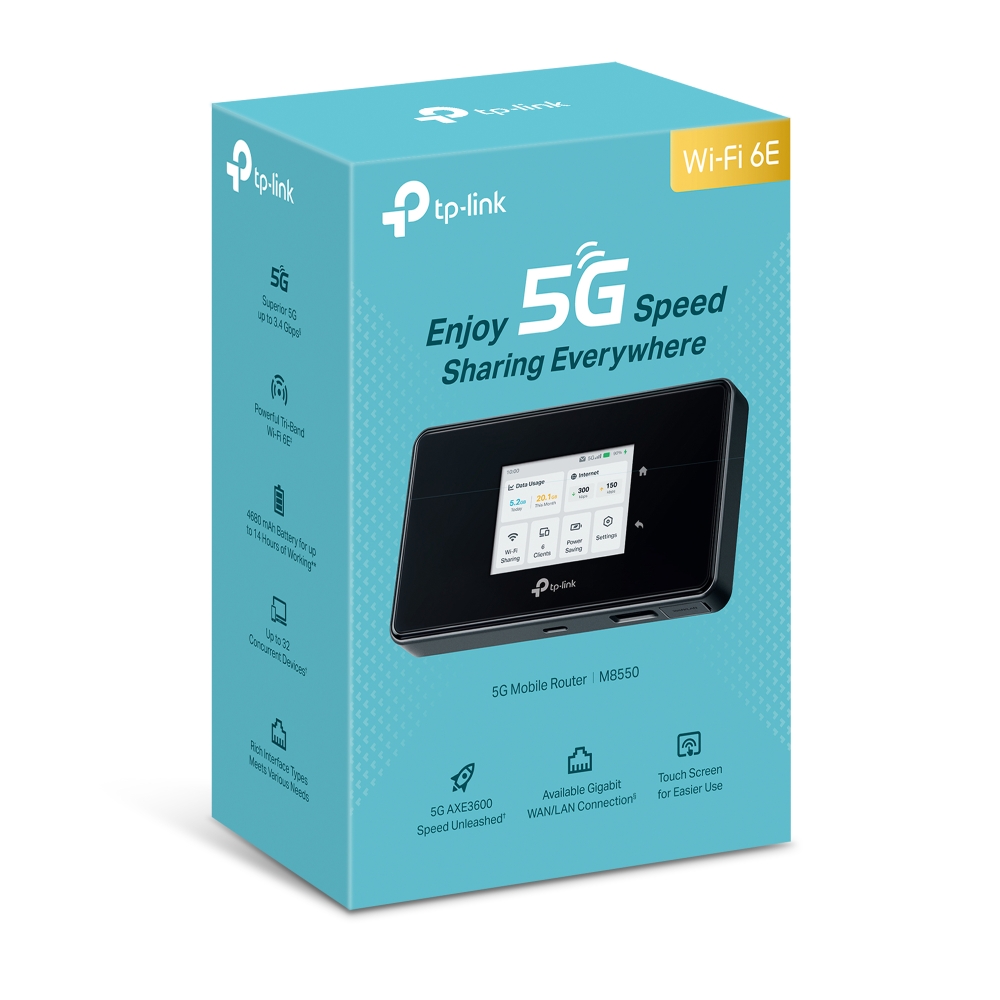
Step 1: Unbox and Physically Set Up the Router
Begin by unboxing your TP-Link router and physically setting it up. Place the router in a central location to ensure maximum coverage. Connect the power cord and plug it into a nearby outlet.
Step 2: Connect the Router to Your Modem
Next, connect the router to your modem using an Ethernet cable. Make sure the modem is turned on and functioning properly before connecting it to the router.
Step 3: Access the Router's Web Interface
Open a web browser and type tplinkwifi.net in the address bar. This will take you to the router's web interface. Log in using the default admin username and password, which can be found on the router's packaging or documentation.
As we can see from the illustration, Tp-Link Router Setup For Network Speed has many fascinating aspects to explore.
Once logged in, navigate to the Network Settings section and configure your network settings as follows:
- Set the Network Name (SSID) to a unique and memorable name.
- Set the Network Password (WPA2/WPA3) to a strong and secure password.
- Set the Channel to Auto to ensure the best possible connection.
- Set the Wireless Mode to 802.11ax (Wi-Fi 6) for the latest wireless technology.
- Set the Wireless Channel to Auto to ensure the best possible connection.
- Set the Wireless Network Name (SSID) to a unique and memorable name.
Step 6: Configure Parental Controls and Other Settings
Configure parental controls and other settings as desired, such as:
- Setting up a guest network for visitors.
- Configuring Quality of Service (QoS) settings for prioritized traffic.
- Setting up firewall rules for enhanced security.
Encountering issues with your TP-Link router? Don't worry, we've got you covered. Here are some troubleshooting tips to help you resolve common issues:
- Check the power cord and ensure it's properly connected.
- Check the Ethernet cable connection to the modem.
- Reset the router to its factory settings.
- Update the router's firmware to the latest version.
Conclusion
TP-Link Router Models and Features
TP-Link offers a range of router models, each with its unique features and specifications. Here are some popular models and their key features:

- Archer AX1800: A dual-band Wi-Fi 6 router with 802.11ax technology and OFDMA.
- Deco BE63: A tri-band Wi-Fi 7 router with 802.11be technology and beamforming.
- Archer AXE5400: A tri-band Wi-Fi 6E router with 6GHz band and beamforming.
TP-Link Router Benefits
TP-Link routers offer several benefits, including:
- Fast and reliable internet speeds.
- Decent internet speeds at an affordable price.
- User-friendly interface for easy configuration.
- Robust network security features.
TP-Link Router Limitations
While TP-Link routers offer many benefits, they also have some limitations, including:
TP-Link routers are compatible with a wide range of devices, including:
- Smartphones and tablets.
- Laptops and desktops.
- Smart home devices and IoT devices.
- Streaming devices and gaming consoles.
TP-Link Router Warranty and Support
TP-Link offers a comprehensive warranty and support program, including:
- Warranty period: 2 years.
- 24/7 technical support via phone, email, and online chat.
- Regular firmware updates and software support.
 - Dual Band Wireless ...")


1.0_01_large_20231207030948b.png "TP-Link - Archer BE9700 Tri-Band Wi-Fi 7 Router - Black")


")


