Setting up Alexa with Smart Power Strip: A Step-by-Step Guide
Are you looking to upgrade your home to a smarter, more convenient space? Setting up an Alexa smart power strip can be a great way to achieve this. In this article, we'll walk you through the process of setting up an Amazon smart power strip with Alexa, so you can start enjoying voice control over your devices.
Understanding Smart Power Strips
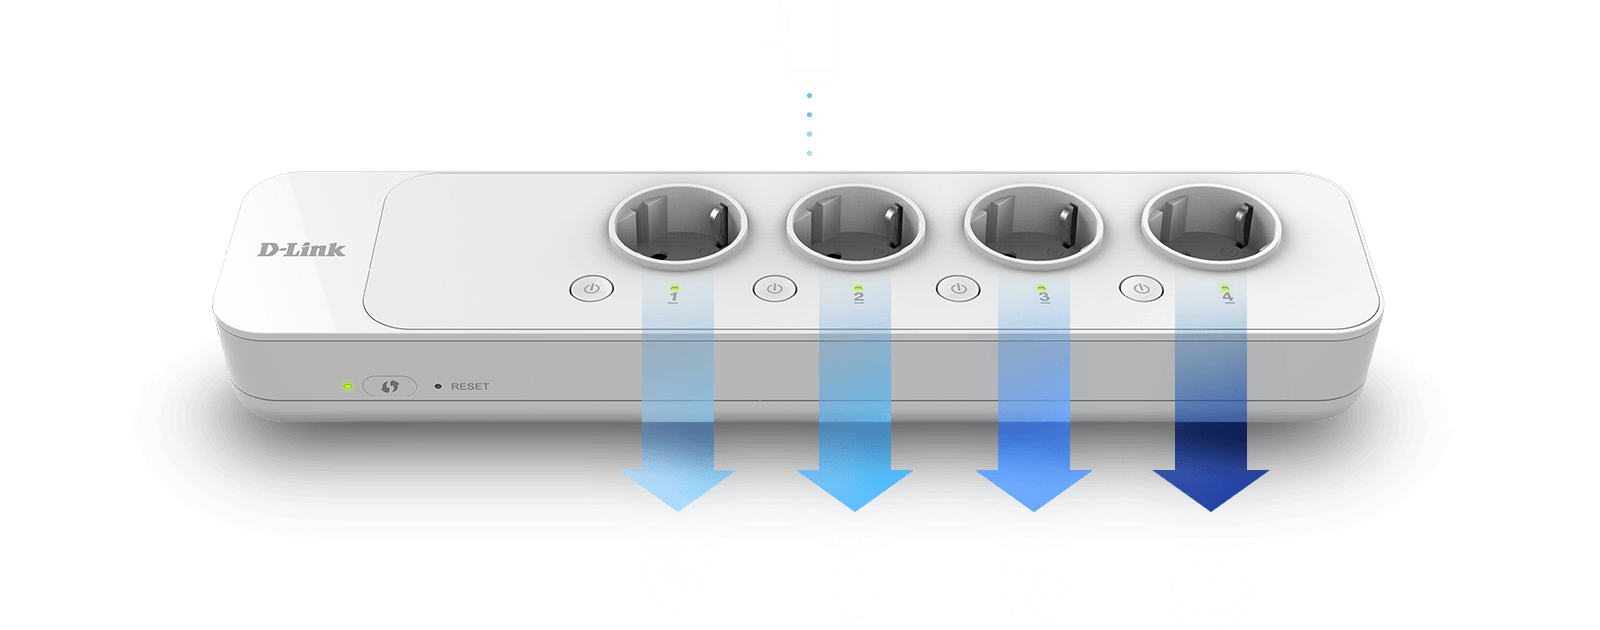
A smart power strip is a device that allows you to control multiple outlets using a single device. With a smart power strip, you can turn on and off, and even monitor the energy usage of each device connected to it. These devices are usually Wi-Fi enabled, allowing you to control them from anywhere using a smartphone app or through voice commands with Alexa.
Choosing the Right Smart Power Strip
When selecting a smart power strip, make sure it is compatible with your existing devices and has the right outlets for your needs. Some smart power strips come with USB ports, which can be a convenient feature if you have devices that require power via USB. Additionally, ensure that the device you choose does not require a hub to use, as some smart power strips may need a separate hub to function.

Setting up Alexa with Smart Power Strip
The first step in setting up a smart power strip with Alexa is to download and install the Alexa app on your smartphone. You can find the app in the Apple App Store or Google Play Store. Once the app is installed, open it and follow the instructions to set up your Alexa account.
Step 2: Connect the Smart Power Strip to Your Wi-Fi Network
Next, you'll need to connect the smart power strip to your Wi-Fi network. This is usually done by following the manufacturer's instructions, which may involve scanning a QR code or following a series of steps in the Alexa app. Make sure your smart power strip is plugged into a power outlet and follow the on-screen instructions to connect it to your Wi-Fi network.
Step 3: Set Up the Smart Power Strip in the Alexa App
Once the smart power strip is connected to your Wi-Fi network, open the Alexa app and follow the instructions to set up the device. This may involve putting the smart power strip in pairing mode, scanning a QR code, or entering a security code. Follow the on-screen instructions to complete the setup process.
Step 4: Group Devices in the Alexa App
After setting up the smart power strip, you'll want to group your devices in the Alexa app. To do this, open the Devices icon, click the + icon, and select Add Group to create a new group. You can then add devices to the group, including the smart power strip.
Now that your devices are grouped in the Alexa app, you can assign voice commands to control each device. To do this, open the Alexa app, select a device, and then click the microphone icon to assign a voice command. You can then use voice commands like "Alexa, turn on the living room lights" to control your devices.
Conclusion
Setting up an Alexa smart power strip is a straightforward process that can bring many benefits to your home. By following the steps outlined above, you can enjoy remote control over your devices, energy monitoring, convenience, and sustainability. Whether you're looking to upgrade your home to a smarter, more convenient space or simply want to reduce your energy usage, an Alexa smart power strip is a great solution to consider.


 - Automate Your Life")


