Ceiling Fan Installation: A Comprehensive Guide
Installing a ceiling fan can be a great way to upgrade your home's look, improve air circulation, and lower your energy bill. Whether you're adding a ceiling fan to your living room or outdoor space, the process is relatively simple and can be completed with a few tools and some basic knowledge. In this article, we'll provide a step-by-step guide on how to install a ceiling fan, as well as some valuable tips and considerations to keep in mind.
Why Install a Ceiling Fan?
- Improves air circulation and cooling in summer
- Improves heating in winter
- Energy-efficient and cost-effective
- Upscale look and feel for any room
Materials Needed for Ceiling Fan Installation
- Ceiling fan
- Downrod
- Mounting bracket
- Wiring and electrical connections
- Light kit (optional)

Moving forward, it's essential to keep these visual contexts in mind when discussing Ceiling Fan Installation Moen Installation.
Step 1: Remove the Old Fan (If Applicable)
Before installing a new ceiling fan, you'll need to remove the old fan and any existing light fixtures. This will give you a clean slate to work with and ensure that your new fan is installed correctly. Be sure to disconnect the power to the fan before removal to avoid any electrical shock.
Step 2: Assemble the New Fan
Once you have the new fan, assemble the various components according to the manufacturer's instructions. This will typically include attaching the downrod, mounting bracket, and any other necessary parts.
Step 3: Install the Fan Bracket
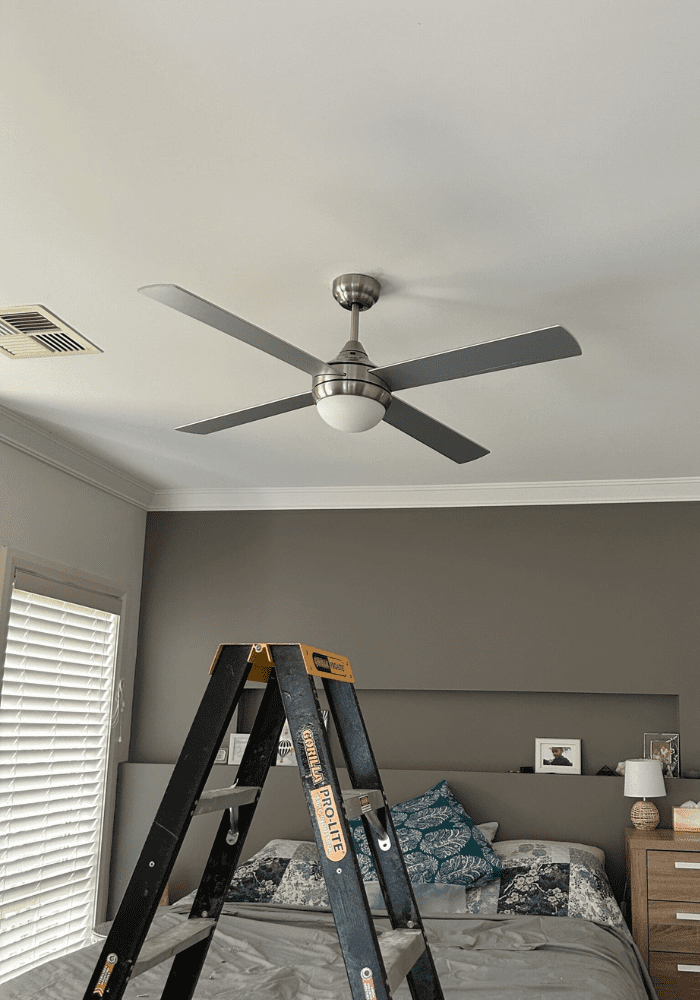
As we can see from the illustration, Ceiling Fan Installation Moen Installation has many fascinating aspects to explore.
Step 4: Hang the Fan
With the fan bracket in place, it's time to hang the fan. Carefully lift the fan into position and attach it to the bracket using the screws or clips provided. Make sure the fan is level and securely fastened.
Step 5: Connect the Wiring
With the fan in place, it's time to connect the wiring. This will typically involve connecting the fan to the existing electrical connections in your ceiling. Make sure to follow the manufacturer's instructions and take necessary safety precautions when working with electrical wiring.
Step 6: Install the Light Kit (Optional)
If your ceiling fan comes with a light kit, now is the time to install it. This will typically involve connecting the light kit to the fan and any necessary electrical connections.
Additional Tips and Considerations
- Make sure to follow all safety precautions when working with electrical wiring and power tools.
- Consider hiring a licensed electrician if you're not comfortable with electrical work.
- Measure the space carefully to ensure the fan fits comfortably and doesn't obstruct any windows or doors.
- Choose a fan that's energy-efficient and meets your specific needs.
Conclusion
Installing a ceiling fan can be a great way to upgrade your home's look, improve air circulation, and lower your energy bill. With the right materials and a little patience, you can complete the installation yourself and enjoy the benefits of a new ceiling fan. Remember to follow all safety precautions and manufacturer's instructions to ensure a successful installation.

 | Family Handyman")


![Image showcasing How Much Does It Cost to Install a Ceiling Fan? [2026 Data]](https://www.beaconplumbing.net/wp-content/uploads/2025/04/ceiling-fan-installer.png "How Much Does It Cost to Install a Ceiling Fan? [2026 Data]")


