How to Set Up Printer on MacBook Pro: A Comprehensive Guide
In today's digital age, having a reliable printer is essential for both personal and professional use. Whether you're a student, a working professional, or a creative enthusiast, setting up a printer on your MacBook Pro can seem like a daunting task. However, with the right steps and guidance, you can easily connect and configure your printer to work seamlessly with your Mac. In this article, we'll walk you through the step-by-step process of setting up a printer on your MacBook Pro.
Step 1: Determine Your Printer's Connection Type
The first step in setting up a printer on your MacBook Pro is to determine the connection type. Most modern printers come with wireless connectivity options, but some may require a USB cable or Ethernet connection. Here are some common connection types:
- Wi-Fi: If your printer supports wireless printing, you can connect it to your local network and set it up using AirPrint.
- USB: Connect the printer to your MacBook Pro using a USB cable.
- Ethernet: Connect the printer to your Mac using an Ethernet cable.
Step 2: Connect Your Printer to Wi-Fi
If your printer supports wireless printing, you can connect it to your local network using Wi-Fi. Here's how:
- Make sure your printer is turned on and connected to the same Wi-Fi network as your Mac.
- Open the Apple menu and select "System Preferences."
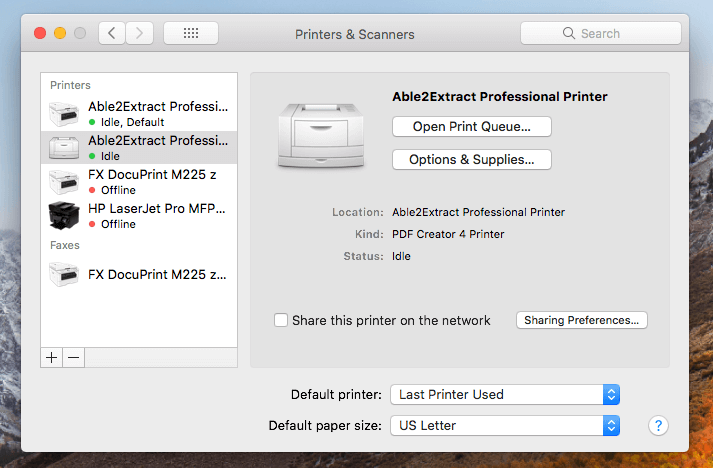
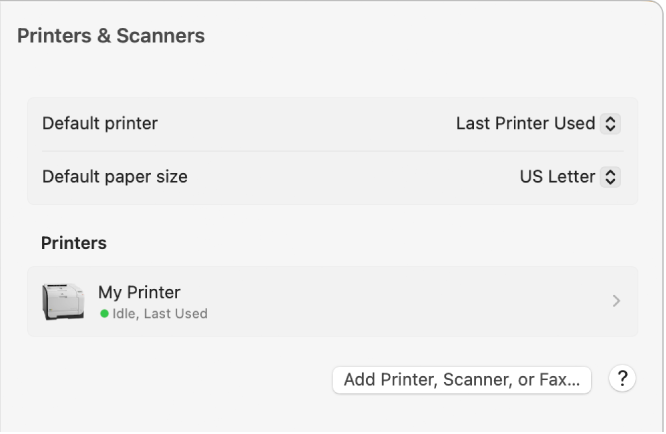
- Click on "Printers & Scanners" and then click the "+" button at the bottom of the window.
- Select your printer from the list of available printers and click "Add."
Step 3: Install the Printer Driver
Furthermore, visual representations like the one above help us fully grasp the concept of How To Set Up Printer On Macbook Pro.
Once you've connected your printer to Wi-Fi, you'll need to install the printer driver on your Mac. The driver is software that helps your Mac communicate with the printer. Here's how to install the driver:
- Insert the installation CD or download the driver from the manufacturer's website.
- Follow the on-screen instructions to install the driver.
- Restart your Mac after installation is complete.
After installing the driver, it's time to test your printer. Here's how:
- Open the Print dialog box by selecting "Print" from the File menu or using the keyboard shortcut Command + P.
- Choose your printer from the list of available printers and click "Print."
- Check if the print job is successful. If it is, you're good to go!
Furthermore, visual representations like the one above help us fully grasp the concept of How To Set Up Printer On Macbook Pro.
Here are some additional tips and troubleshooting tips to help you set up your printer on your MacBook Pro:
- Make sure your printer is turned on and connected to the same Wi-Fi network as your Mac.
- Check if the printer driver is installed correctly. If not, reinstall the driver.
- Try resetting the printer and Mac. Sometimes, a simple reset can resolve connectivity issues.
Conclusion
Setting up a printer on your MacBook Pro can seem intimidating, but with the right steps and guidance, it's a breeze. By following the steps outlined in this article, you'll be able to connect and configure your printer to work seamlessly with your Mac. Remember to troubleshoot any issues that may arise, and don't hesitate to reach out to the manufacturer's support team if you need further assistance. Happy printing!


")


%20Support/7%20HP%20preferences.jpg "Brother Drivers: Info & Downloads - Printer Drivers & More | Brother")