How to Repair a Charging Port on a Device: A Step-by-Step Guide
Are you tired of dealing with a faulty charging port on your device? Whether it's a smartphone, tablet, or laptop, a broken charging port can be a real nuisance. Fortunately, in most cases, you can repair or replace the charging port yourself with a few simple tools and some patience. In this article, we'll walk you through the process of diagnosing and fixing a faulty charging port on your device. Before you start the repair process, it's essential to identify the problem. Check if your device is not charging, charging intermittently, or not recognizing the cable. If your device is experiencing any of these symptoms, it's likely that the charging port is damaged.Tools and Materials Needed

Such details provide a deeper understanding and appreciation for How To Repair A Charging Port On A Device.
To repair a charging port, you'll need the following tools and materials: * A Phillips screwdriver * A Torx screwdriver (for devices with a Torx screw) * A plastic spudger * A metal spudger * A cotton swab * Compressed air * A replacement charging port (optional)Step-by-Step Instructions
Such details provide a deeper understanding and appreciation for How To Repair A Charging Port On A Device.
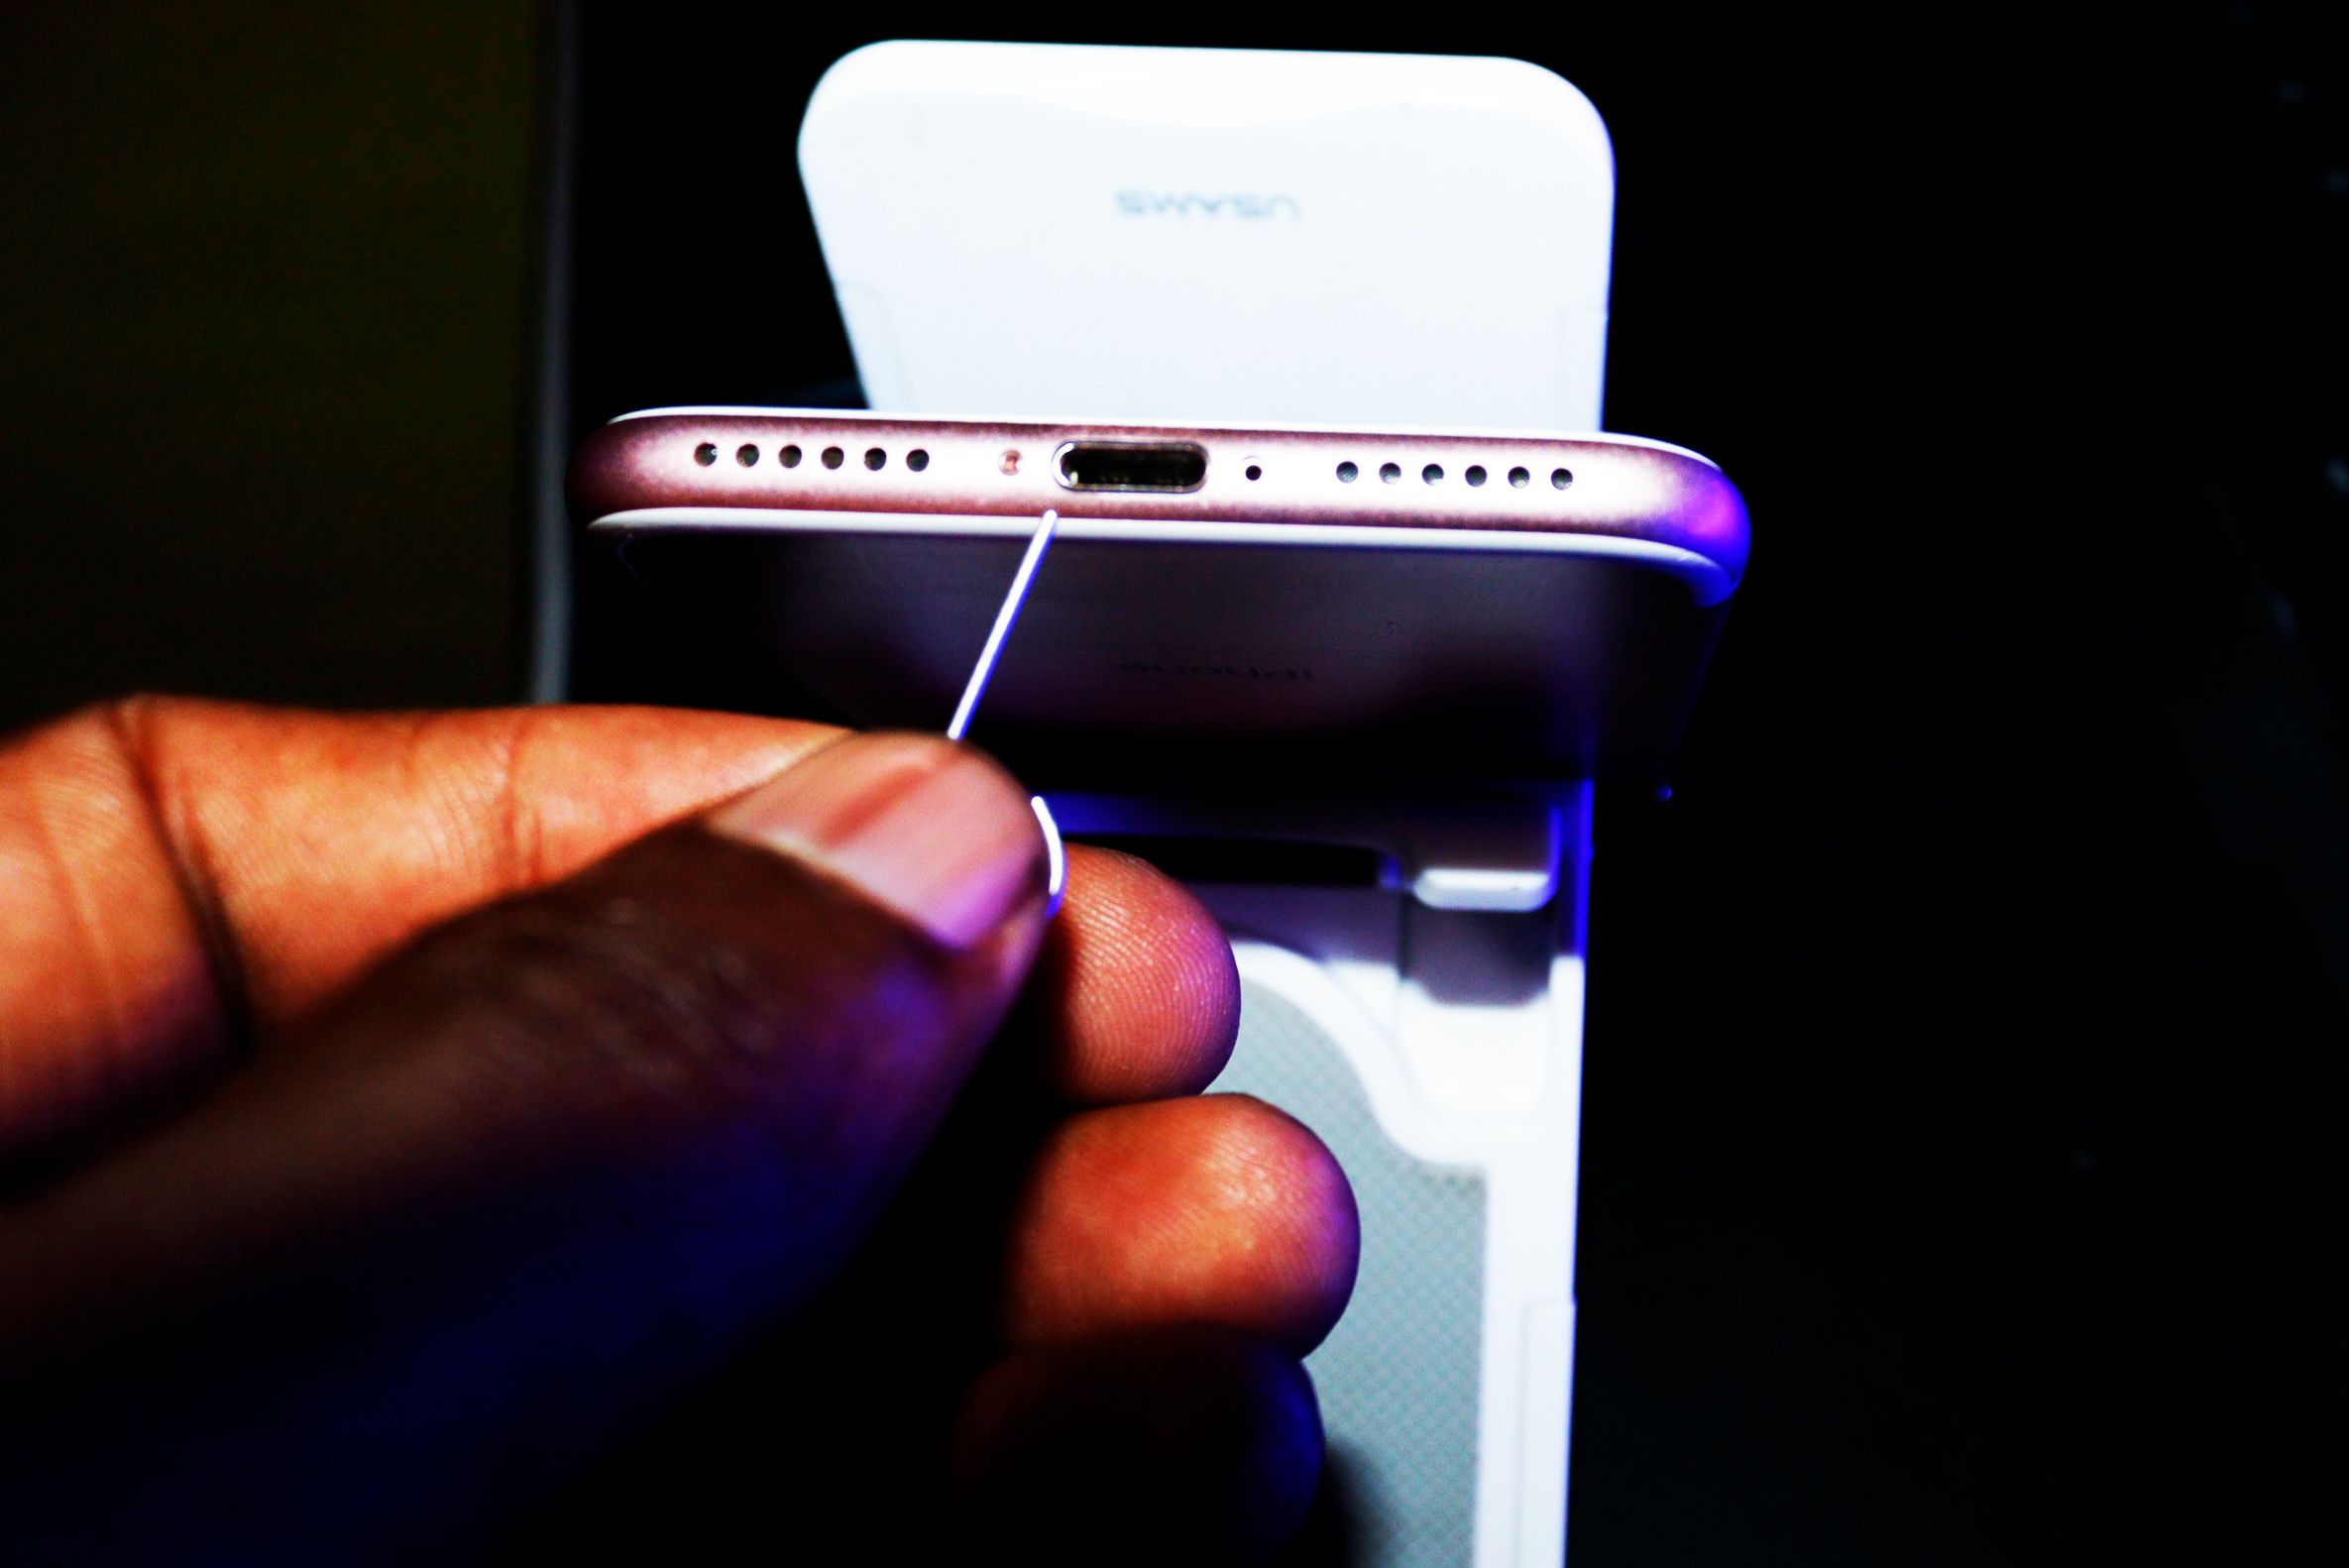
### Diagnosing the Charging Port 1. **Inspect the charging port**: Use a flashlight to inspect the charging port for any signs of damage, such as burn marks or looseness. 2. **Clean the charging port**: Use compressed air to blow out any dust or debris from the charging port. Be careful not to push any debris further into the port. 3. **Use a cotton swab to clean the port**: Dampen a cotton swab with water and gently insert it into the charging port. Rotate the swab to remove any remaining debris. ### Disassembling the Device 1. **Remove the screws**: Use a Phillips screwdriver to remove the screws that hold the device's casing together. 2. **Pry open the casing**: Use a plastic spudger to pry open the casing. Start from one corner and work your way around the device. 3. **Disconnect the charging port**: Use a metal spudger to disconnect the charging port from the device's motherboard. ### Repairing or Replacing the Charging Port 1. **Inspect the charging port**: Use a flashlight to inspect the charging port for any signs of damage. 2. **Replace the charging port (if necessary)**: If the charging port is damaged beyond repair, replace it with a new one. 3. **Reassemble the device**: Reconnect the charging port and reassemble the device. ### Testing the Charging Port 1. **Plug in the charger**: Plug in the charger and check if the device is charging. 2. **Test the charging port**: Test the charging port by plugging in different chargers and checking if the device is charging. To prevent future charging port damage, make sure to: * Regularly clean the charging port with compressed air. * Avoid using excessive force when plugging in cables. * Use certified accessories to prevent charging port damage. * Inspect the charging port for any signs of damage.


")


