Setting Up a Discord Server: A Comprehensive Guide
Getting Started with Your Discord Server
Setting up a Discord Server is easy with this comprehensive guide. Whether you're building a community for gaming, study groups, or other hobbies, we'll walk you through the steps to create a successful server that meets your needs. Whether you're a seasoned administrator or a beginner, we'll cover everything from setting up user roles to creating a welcoming onboarding experience.Step 1: Creating a Discord Server
To start, you'll need to create a new Discord server. This can be done by clicking the "+" icon in the top left corner of the Discord interface and selecting "Create a Server". Once you've created your server, you'll need to choose a name and icon that represents your community. This will help new members find and recognize your server.Step 2: Setting Up User Roles
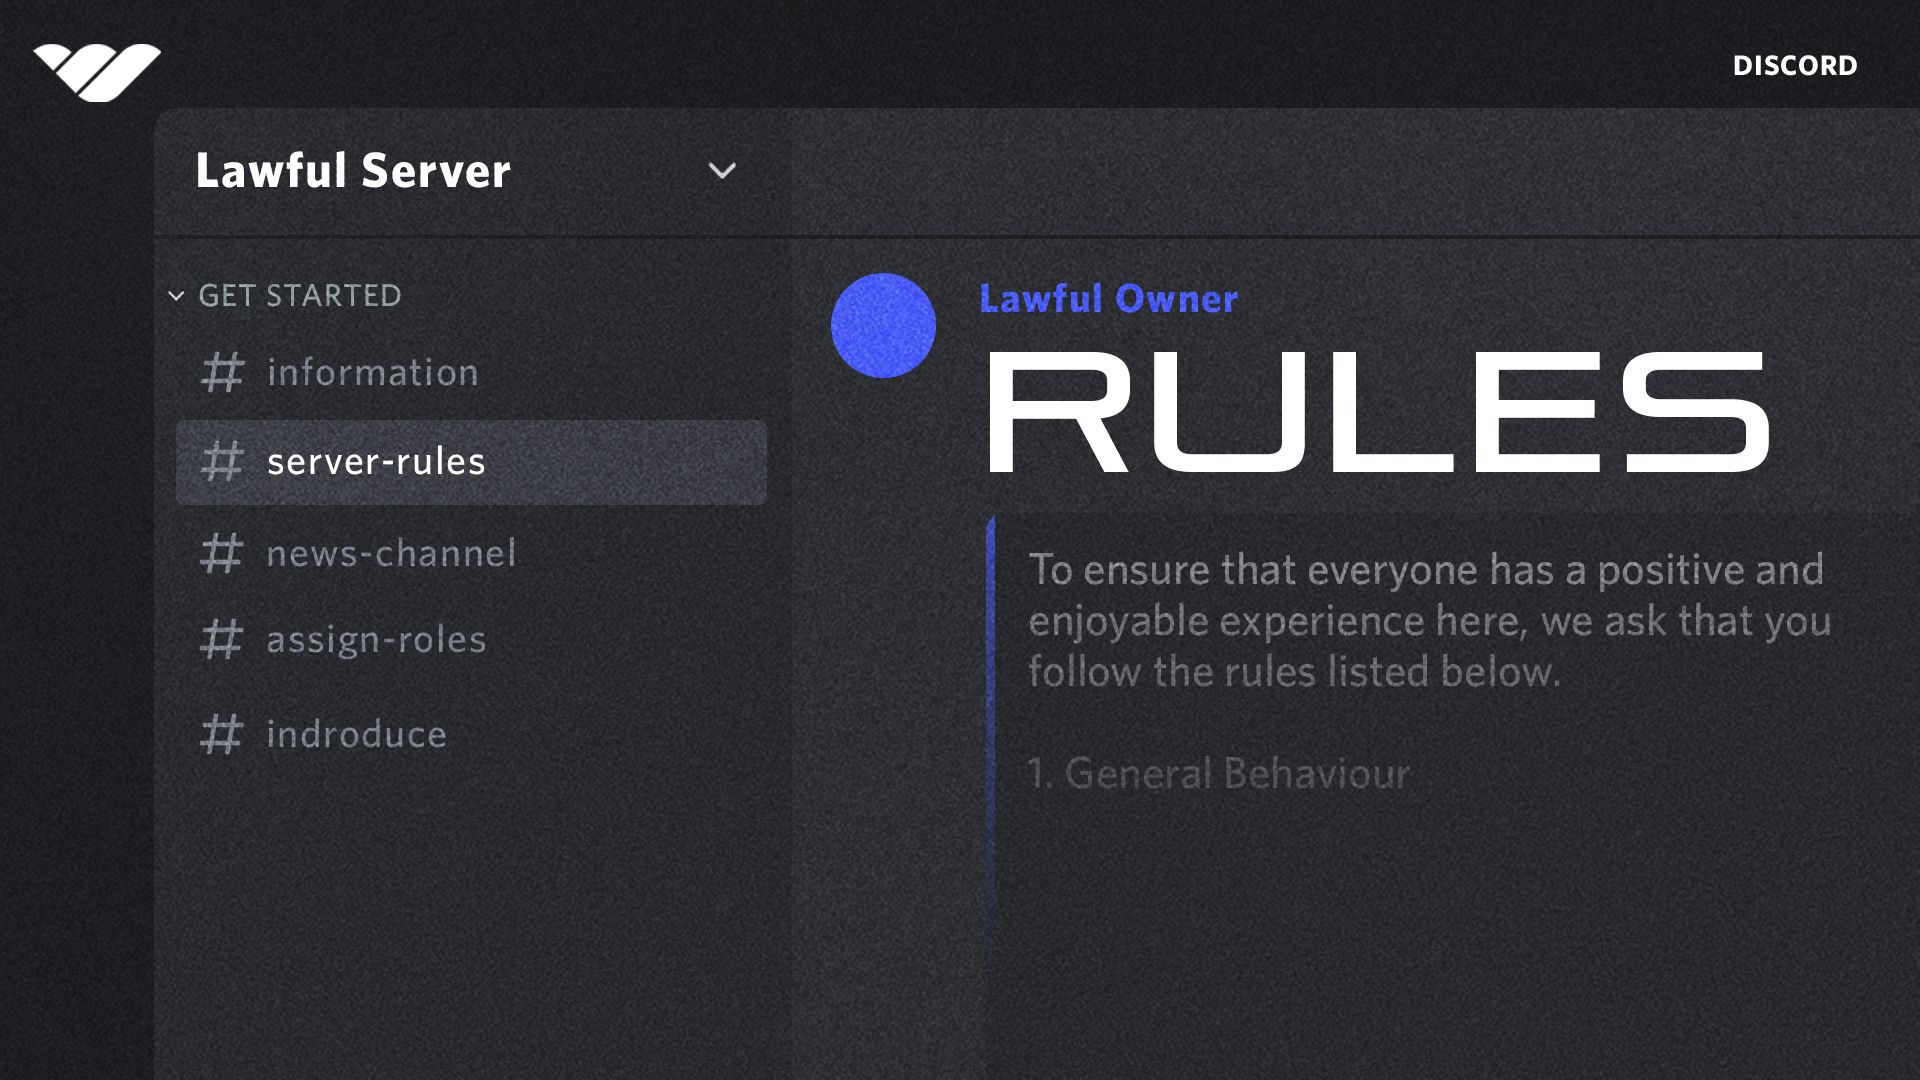
This particular example perfectly highlights why Discord Server Setup is so captivating.
Once you've created your server, it's time to set up user roles. User roles allow you to give different permissions to specific groups of users within your server. This can include permissions such as the ability to manage channels, ban users, or delete messages. By creating roles, you can streamline your permissions management and make it easier to manage your server.Step 3: Creating Channels and Categories
In Discord, you can create channels and categories to organize your server's content. Channels are used to discuss specific topics or themes, while categories help group similar channels together. By creating channels and categories, you can make it easy for users to find and participate in discussions.Step 4: Configuring Server Settings
In addition to setting up user roles and channels, you'll also need to configure your server settings. This includes setting up your server'siyi icon, server password, and other settings that affect how your server is seen by others. By customizing your server settings, you can create a welcoming experience for new members and make it easy for them to join and participate.Step 5: Configuring Server Permissions
Server permissions are a crucial part of managing your Discord server. By setting up server permissions, you can control who has access to certain features, channels, and roles. This includes setting up permissions for users, roles, and channels, as well as configuring permissions for bots and other integrations.Step 6: Integrating Discord with Other Services

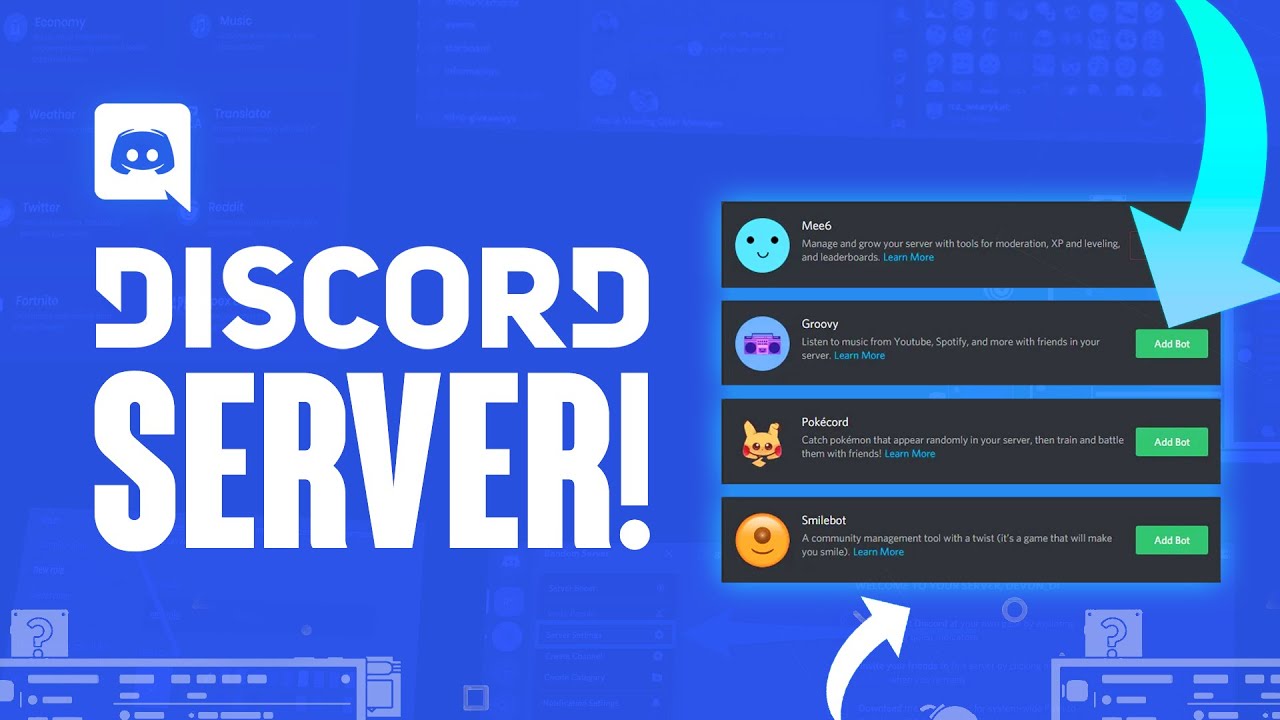
Using the App Directory
Discord's App Directory is a platform that allows you to search, browse, and explore thousands of apps to customize your server. By using the App Directory, you can see what's available and choose the apps that best suit your community's needs.Finalizing Your Server Setup
Once you've completed the above steps, it's time to finalize your server setup. This includes adding a welcome channel or onboarding experience to make it easy for new members to join and participate. By following these steps, you'll have a well-organized and functional Discord server that meets the needs of your community.Setting Up Permissions
Setting up permissions in Discord is a crucial part of managing your server. By setting up user roles and channel permissions, you can control who has access to certain features and content on your server. This includes setting up permissions for users, roles, and channels, as well as configuring permissions for bots and other integrations.Settings Up a Welcome Channel or Onboarding Experience
Moving forward, it's essential to keep these visual contexts in mind when discussing Discord Server Setup.
Creating a welcome channel or onboarding experience is an important part of setting up your Discord server. By creating a welcoming experience, you can help new members get started quickly and easily, and make it easier for them to join and participate in your server.


")


 - YouTube")

 - flat.social")


