G Network Setup for Devices: A Step-by-Step Guide
Introduction
Setting up your G network for devices can seem like a daunting task, but with the right guidance, you can have a stable and secure network in no time. In this article, we'll walk you through the process of setting up your G network for devices, covering topics such as configuring your broadband settings, managing parental controls, and expanding Wi-Fi coverage. When it comes to setting up your G network for devices, you have several options to consider. You can configure your broadband settings, parental controls, and limit internet access using the Nokia WiFi app. Alternatively, you can install a Google Wifi mesh Wi-Fi system to expand Wi-Fi coverage throughout your home.Configuring Your Broadband Settings
Managing Parental Controls
Parental controls are an essential part of setting up your G network for devices. You can use the Nokia WiFi app to manage parental controls, restricting access to certain websites and setting limits on internet usage. You can also use the app to set up a guest network, restricting access to guests and preventing them from accessing sensitive areas of your network.Expanding Wi-Fi Coverage

Connecting Your Devices to the G Network
Once you've set up your G network for devices, it's time to connect your devices to the network. This is a straightforward process that can be completed using the following steps:Step 1: Physically Connect Your Devices
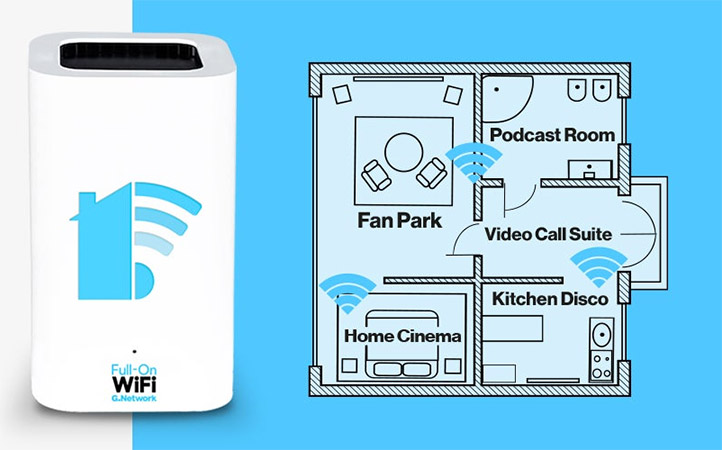
Furthermore, visual representations like the one above help us fully grasp the concept of G Network Setup For Devices.
To connect your devices to the G network, start by physically connecting them to the router using an Ethernet cable. Alternatively, you can connect your devices wirelessly using the Wi-Fi settings on your device.


 | T-Mobile 5G Home Internet")


