Drywall Installation Methods for Beginners: A Step-by-Step Guide
Installing drywall can seem like a daunting task for novices, but with the right tools, techniques, and guidance, it becomes manageable and fun! Whether you're renovating your home, finishing a basement, or merely looking to update a room, this beginner's guide to drywall installation will walk you through the essential steps and tips to help you achieve a professional-looking finish.Choosing the Right Materials and Tools
Before we dive into the installation process, it's essential to choose the right materials and tools for the job. For drywall installation, you'll need the following: * Drywall sheets (also known as sheetrock or wallboard) * Drywall screws * Drywall nails * Joint compound (also known as spackling or mud) * Taping knife * Sanding block * Drywall taping knife * Utility knife * Measuring tape * Level * Pencil and straightedgeStep 1: Prepare the Area
Step 2: Cut the Drywall Sheets
To cut drywall sheets, use a utility knife or a drywall saw. Measure and mark the drywall sheet with a pencil to indicate the cut line. Score the drywall sheet lightly with a utility knife, then pry it along the line with a putty knife. Cut the drywall into manageable sections, if necessary.Step 3: Hang the Drywall Sheets

Such details provide a deeper understanding and appreciation for Drywall Installation Methods For Beginners.
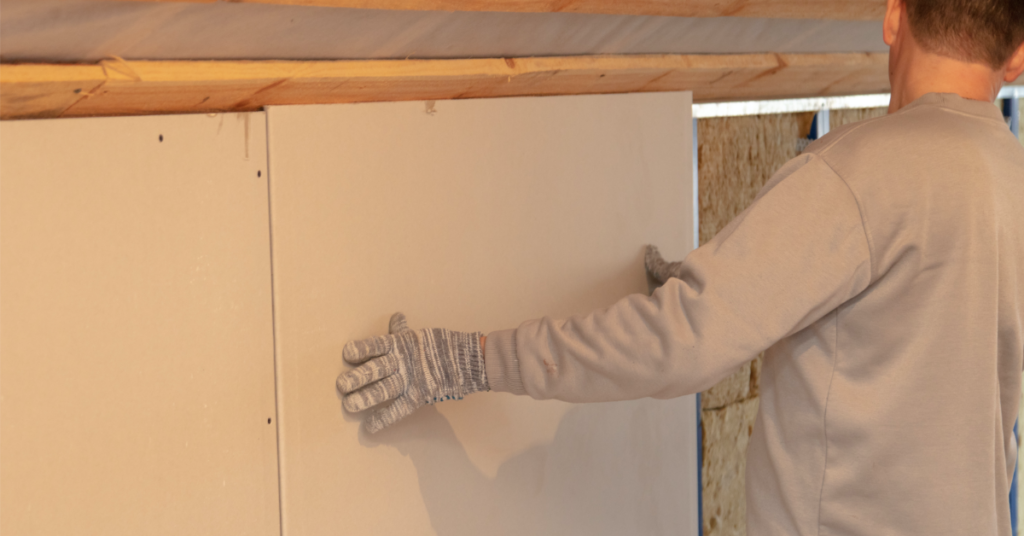
To hang drywall sheets, use drywall screws or nails. Start from the center of the ceiling or wall and begin stapling or screwing the drywall into place, working your way outward. Use a level to ensure the drywall is straight and level. Use a stud finder to locate the wall studs, and screw into them when possible.Step 4: Tape and Mud the Joints
After the drywall sheets are in place, use a taping knife to apply joint compound to the seams and screws. Press the drywall tape onto the compound, ensuring it's firmly attached. Apply multiple layers of compound and sand between each layer to achieve a smooth finish. To add texture to your drywall, use a drywall taping knife to apply joint compound to the surface, then use a texture gun or a special drywall knife to create the desired texture. Sand the surface to a smooth finish, and apply a final coat of joint compound for a seamless finish.Common Mistakes to Avoid

Such details provide a deeper understanding and appreciation for Drywall Installation Methods For Beginners.
* Cutting the drywall sheet incorrectly, resulting in uneven joints or imperfections * Not measuring and marking the drywall sheets accurately * Not allowing enough time for the joint compound to dry between layers * Applying too much pressure while taping and mudding, resulting in an uneven finish To achieve a professional-looking finish, consider the following tips: * Use a laser level to ensure accurate cutting and hanging of the drywall sheets * Use a multi-tool attachment on your drill to make tailor-cut notches for drywall screws * Apply a layer of mesh tape to the drywall seams before applying joint compound * Use a hand saw or a drywall saw to make precise cuts * Hang the drywall sheets from the center, working your way outward to prevent sagging")


:max_bytes(150000):strip_icc()/SPR-smart-tricks-for-installing-electrical-boxes-1821563-hero_24182-ba3143f80b8f40adab99f53af047ccdc.jpg "DIY Projects & Ideas - Lowe's")
 - YouTube")


 - YouTube")


